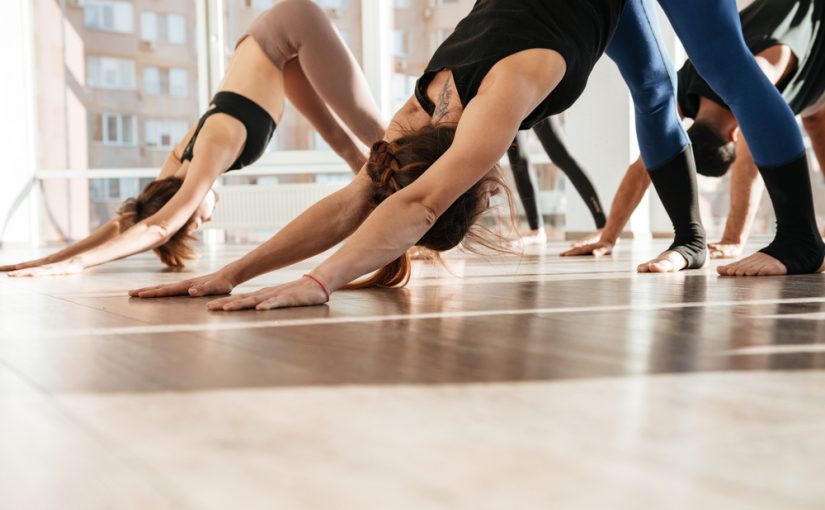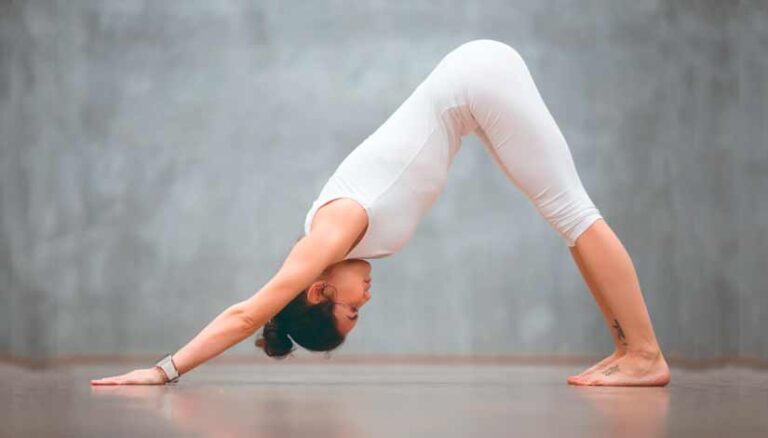
The yoga is one of the most beneficial disciplines to maintain physical health and cleanse the mind of stress that builds up on the day. However, there are many yogis who, after some time exercising, begin to notice certain aches or pains that are almost always concentrated in the wrists. This is because some of its most common asana involve supporting the weight of the body on the hands, as is the case with the downward facing dog. This, together with poor hand support on the floor or the daily punishment that your wrists can suffer if you spend a lot of time in front of a computer, can end up causing the aforementioned pain.
But practicing yoga without pain or discomfort is within the reach of anyone if you follow the instructions that we are going to give you here. These are very simple measures that will save you a lot of trouble in the long run. Keep reading!
4 tips to avoid wrist discomfort when practicing Yoga
Whether you are a beginner or a more advanced yogi, we are going to give you some guidelines to strengthen your wrists and prevent injuries in each session. Take note:
1. Warm up your wrists: finger rotations and extensions
It may seem obvious that you should warm up before exercising, but rush and lack of time continue to push many athletes into the poor practice of skipping the warm-up. In the case of yoga, pay special attention to your wrists during the warm-up. Clench your fists and do ten full rotations of your hands inward and outward.
Then try spreading your fingers out forcefully and picking them up again, and repeat the gesture for a minute. These basic exercises will prepare your wrists for the work that a yoga session entails.
2. Strengthens your muscles
All joints appreciate that the muscles around them are toned, because it acts as a natural reinforcement to the ligaments. To strengthen your wrists, there are several very simple exercises that few people do. A very basic one consists of gripping a towel with force and turning each hand in a different direction, as if you were wringing it. Repeating it several times you will notice how the muscles of your forearms heat up.
If you want to go a little further, you can train with the material you have at home: try taking a cardboard or plastic cylinder, such as the inner cardboard support of a roll of kitchen paper. Prepare a meter or two of string or string, and tie one end to the roll, hanging a small coin from the other. Now, spread the roll in front of you, holding it horizontally with both hands, and twist it to fully wind and unwind the thread.
3. Remember to support the whole hand in the asana
Putting your hands on the ground is a more technical gesture than most people think, and wrong support will end up causing problems. The most important thing is that you keep both hands supported symmetrically, with the fingers wide open and with the middle finger pointing forward. Make sure your hand is wide open so that all five buds are in contact with the ground and receive some of the weight.
It is very important not to concentrate all the weight on the base of the hand, which is often the instinctual reaction, especially when we are tired. Keep the center of your hand slightly off the ground, and the rest of its surface distributing the weight?
4. Keep the angle you need
It is very common that when the time comes to put the weight on the hands in any type of exercise, the monitor suggests that you keep your hands at the height of your shoulders, so that your arm forms a 90 degree angle with the ground. This is correct in most cases, but some people have less flexibility in their wrists, and this pose is forced for them.
If you feel discomfort when keeping your wrists at that angle, try advancing your hands in front of your shoulders, until you find a more natural and comfortable point. Usually a few centimeters will be enough for the feeling of tightness to disappear.


